#3 Making the ring base―Part 1
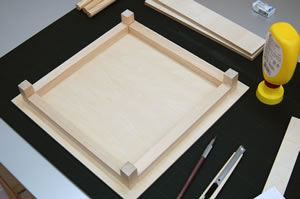
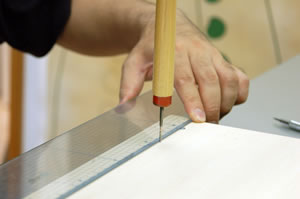
First, using a pencil, draw a 266X266mm square in the center of the plywood (base A).
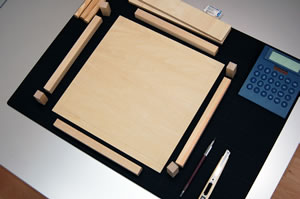
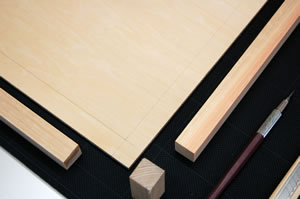
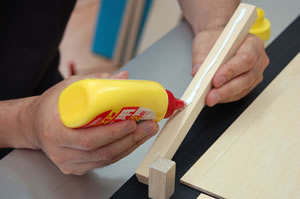
Apply bonding glue on one side of the 230X18X18 hinoki cypress square block (base C), and place it inside, along the line, of the marked box, leaving 18mm margins at both sides. Check to see that the 18X18X38mm hinoki cypress square piece (base B) fits into the 18mm margins.
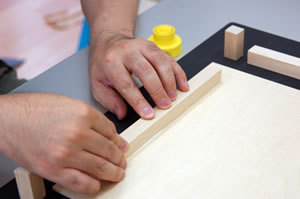
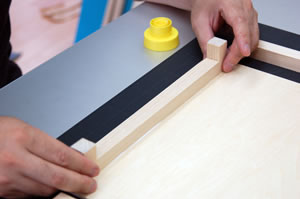
Do the same for the remaining sides. Be careful to secure the 18mm margins before gluing the bars.
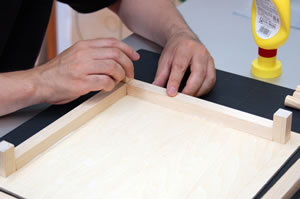
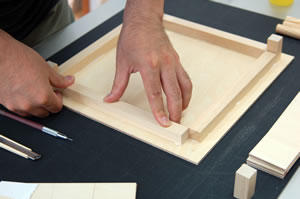
Next, put bonding glue on the cut ends of base Cs, and on the 18mm margins on base A, and glue base Bs.
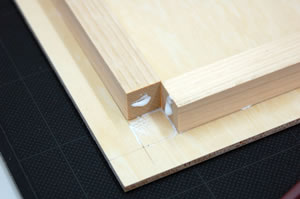
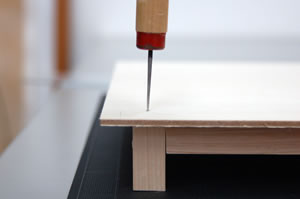
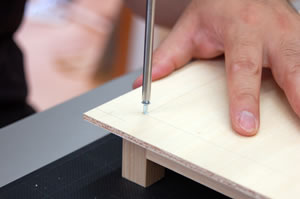
When dry, tightly screw down base Bs and Cs, with the 16mm-long screws, working from the backside. First, use the gimlet to make a hole, and then insert a screw. Even though you're working on the underside, space the screws evenly so it looks professional.
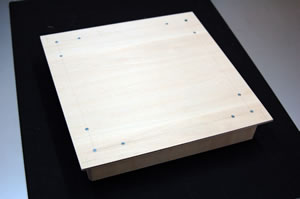
Again, be sure to draw the square on base A accurately, and cut all ends of base B and C at the right angle. If an end is uneven, sand it down. The base is very important, so make the effort to get everything right.
Next time, using our remaining wood, we'll build the sides of the ring.